Email - Personalise
Personalisation of emails is part of the Advanced Email Module
Personalising emails
When sending emails, it is possible to include some personalised text to the client, or the provider, (as well as including attachments).
Please note that the email template you are using MUST have "intro text" and "footer text" text blocks included in it, in order for the personalised text to work!

To include a personalised intro or closing paragraph before sending an email
- Click on a specific Departure, go to Emails | Providers/Customer Service, etc, and click on the specific Booking or Provider for whom you wish to include a personalised introduction or closing paragraph.
- Hover over the Provider or Client's name until it goes orange, then click
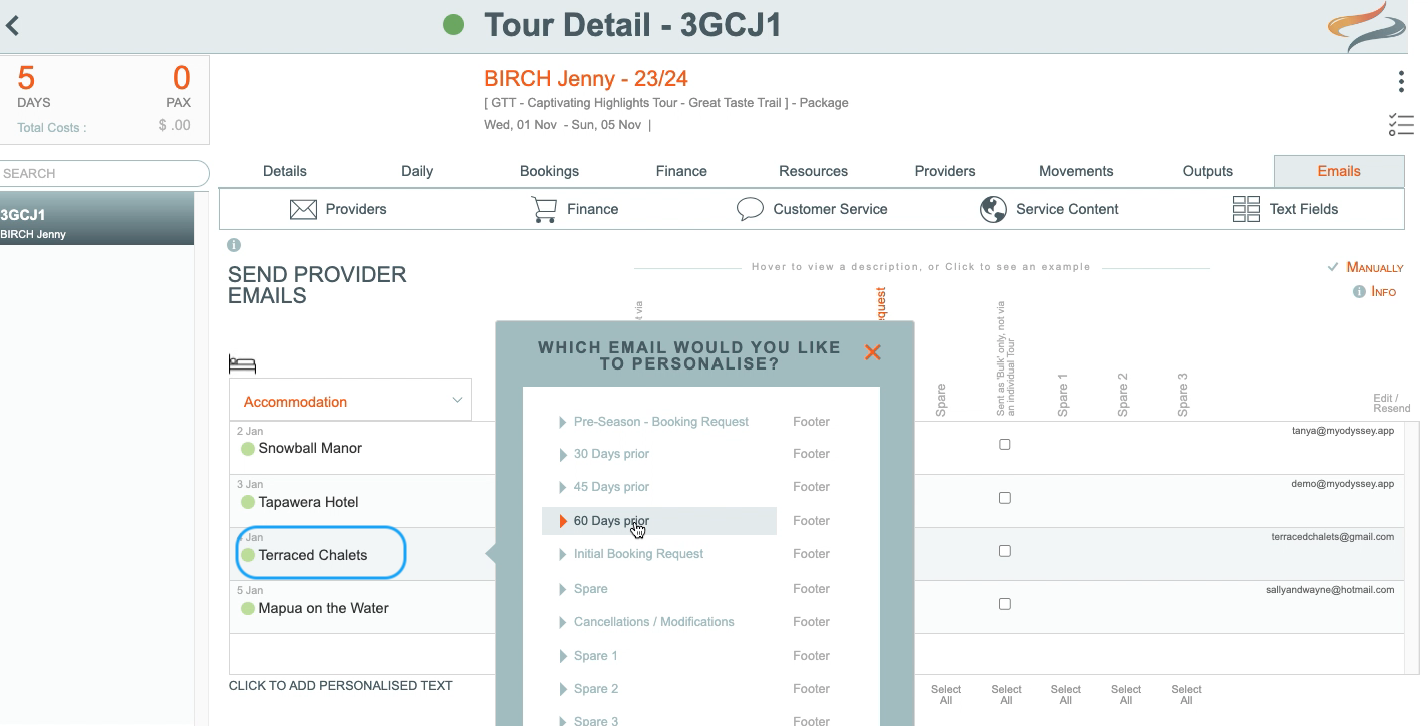
- Select the email template that this text will be attached to, in the example above, it's going to be the 60 days prior email template (This selection is required because each email template can have different personalised text)
- Intro text is entered by clicking on the template name; if footer text is required, click on the footer button.
- Enter any optional Personalised text to be added into the email in the Editable Text box.

-
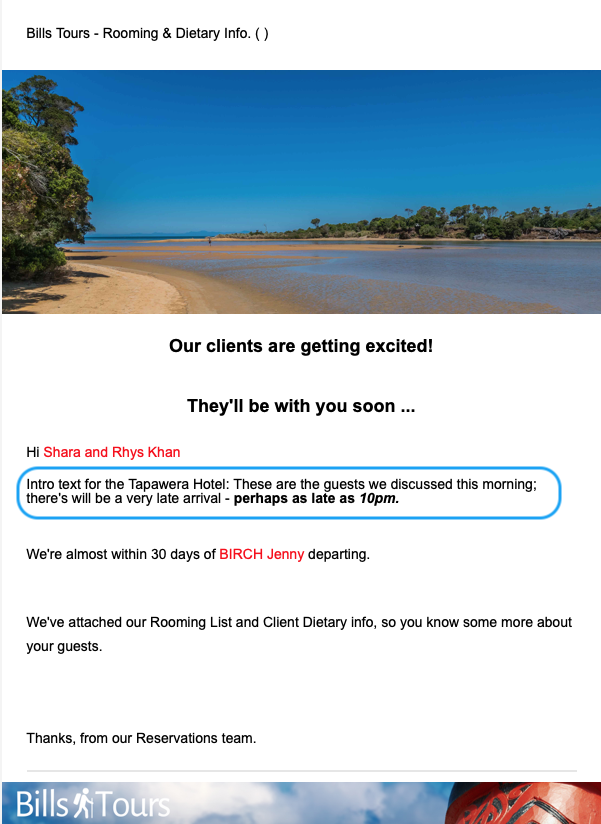
Intro text: could say “Hi Mandy, great chatting to your earlier about your adventure with us!” or "We are delighted you are joining Jo Bloggs on this fabulous cycling tour. The cost is $xx, based on twin share, but we are pleased to offer you a 4% returning client discount."
Footer text: could say “Thanks again Mandy, and we look forward to meeting you face to face on Thursday next week.”
- Use the "Push Text to Begin" button, to copy text to the view that the client can see, and make any formatting changes by firstly selecting the text, then clicking the Bold, Underline or Italics button. Large sections of text can be selected, and formatted, one time only. For subsequent formatting, this needs to be performed at a maximum of one line at a time.
Applying this text to all Providers (or customers) in this tour
- Once pushed and text appears in the bottom panel, an Apply to All button appears.
- Click on that button to push the same text to all providers in the Provider Category selected
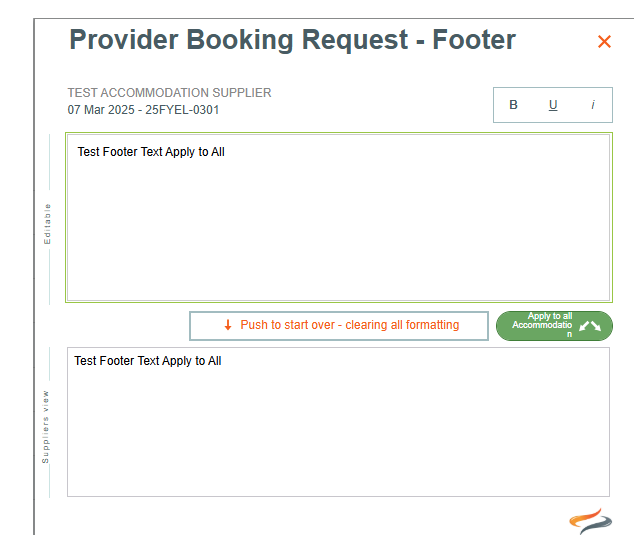
Note: The Button's label text is dynamic, so it will change depending on the Provider type being emailed

- Click x to close the window.
- Send the email using the usual send process, click Here to learn more.