
Provider - Itinerary
Content

To enter text about this Provider
- From then Provider | Itinerary | Content tab, enter any text you wish to use in client related communications, e.g. Itinerary and the Mobile app.
- The text field can be used to enter Provider text automatically using AI, or it can be typed in manually.
- For the Ai tool to work, The website button for this provider must be written in black, with a light teal icon.
- if the website button is in very pale grey text, enter the URL on the Provider Detail URL field
- Click the AI Assist button!
- The provider's website is then scanned by AI and relevant content will be entered into the text field
- If you want different text - click the AI button again, and it will "redo" the content
- Alternatively, you can enter text manually

Default Check in - Event time and Check-out time
- Use the drop down lists and radio buttons to select a check-in time, (or an event time for an Activity, or a Meal), and also check-out time

- Click the reapply button to make selections about how this event time is applied to existing bookings
- choose from the list as to which action you would like taken with this check in time:
- apply to masters
- apply to masters and tours
- apply to masters and tours and bookings
Noting that this will replace any/all data already populated. Please selection with caution, as there is no undo option!
Image

A Provider Image for use on the Client's Itinerary can be added here, to make the Itinerary more appealing.
A Provider image can be uploaded from the Provider's website:
- to find a suitable image, click on the Website button on the Itinerary | Content tab
- download a provider image, or take a snapshot
- click the choose button to upload the image, or drag and drop it into place on the image field
- use the clear button to remove an image, if required
Note: The provider image added here will automatically be
- resized to 450w x 300h pixels, and
- replicated on the Proposal Rectangle image tab
If your business uses the Mobile App advanced feature
After making changes in this tab, click the Push to Mobile App button
Note that Provider Products can have images also; if there are no provider PRODUCT images, then the Provider image here will be included. We do recommend that any provider images that you upload have been saved with a part of the provider name, to help us identify them should they ever become unliked to the provider record.
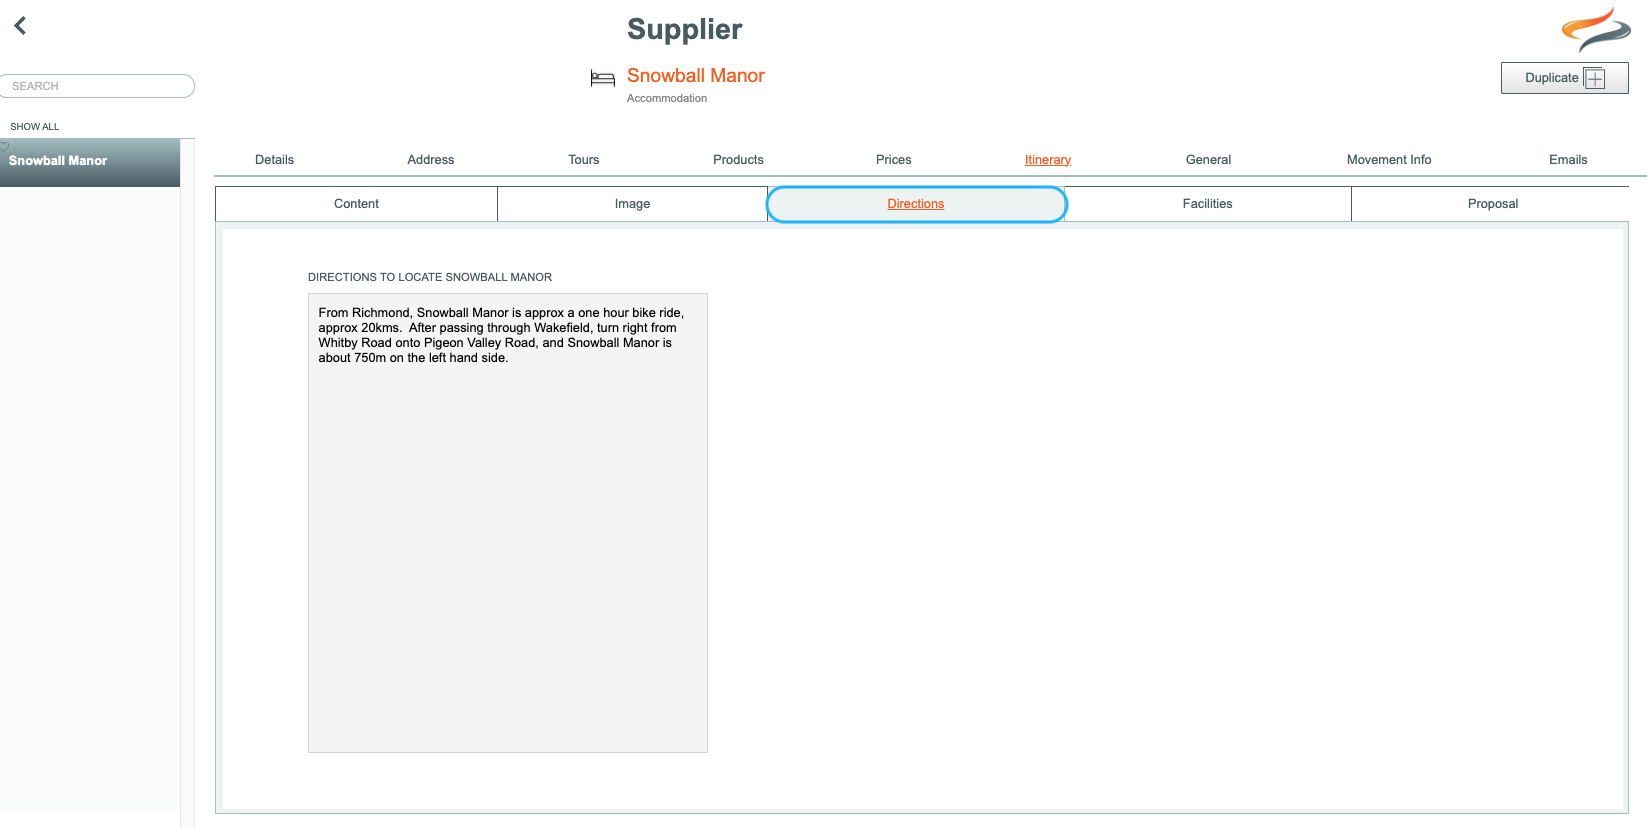
Directions
Use this space to enter riding directions to this particular provider, from the trail. e.g. On the approach to Oamaru, leave the trail when you cross over Chelmer Street, carry on up Chelmer St, left at Cross Street, etc
The directions text is used in the Mobile App.
Facilities
Provider Facilities are additional facilities that the Accommodation provider provides for their guests' comfort. For example, wifi, e-bike charging, secure bike storage, or laundry facilities. Icons for each provider's facilities will be viewable in many places throughout Odyssey, including on the client’s itinerary.
The Facilities tab allows you to define which facilities this Provider has, for use on external communications to the client, such as the Itinerary and Mobile App
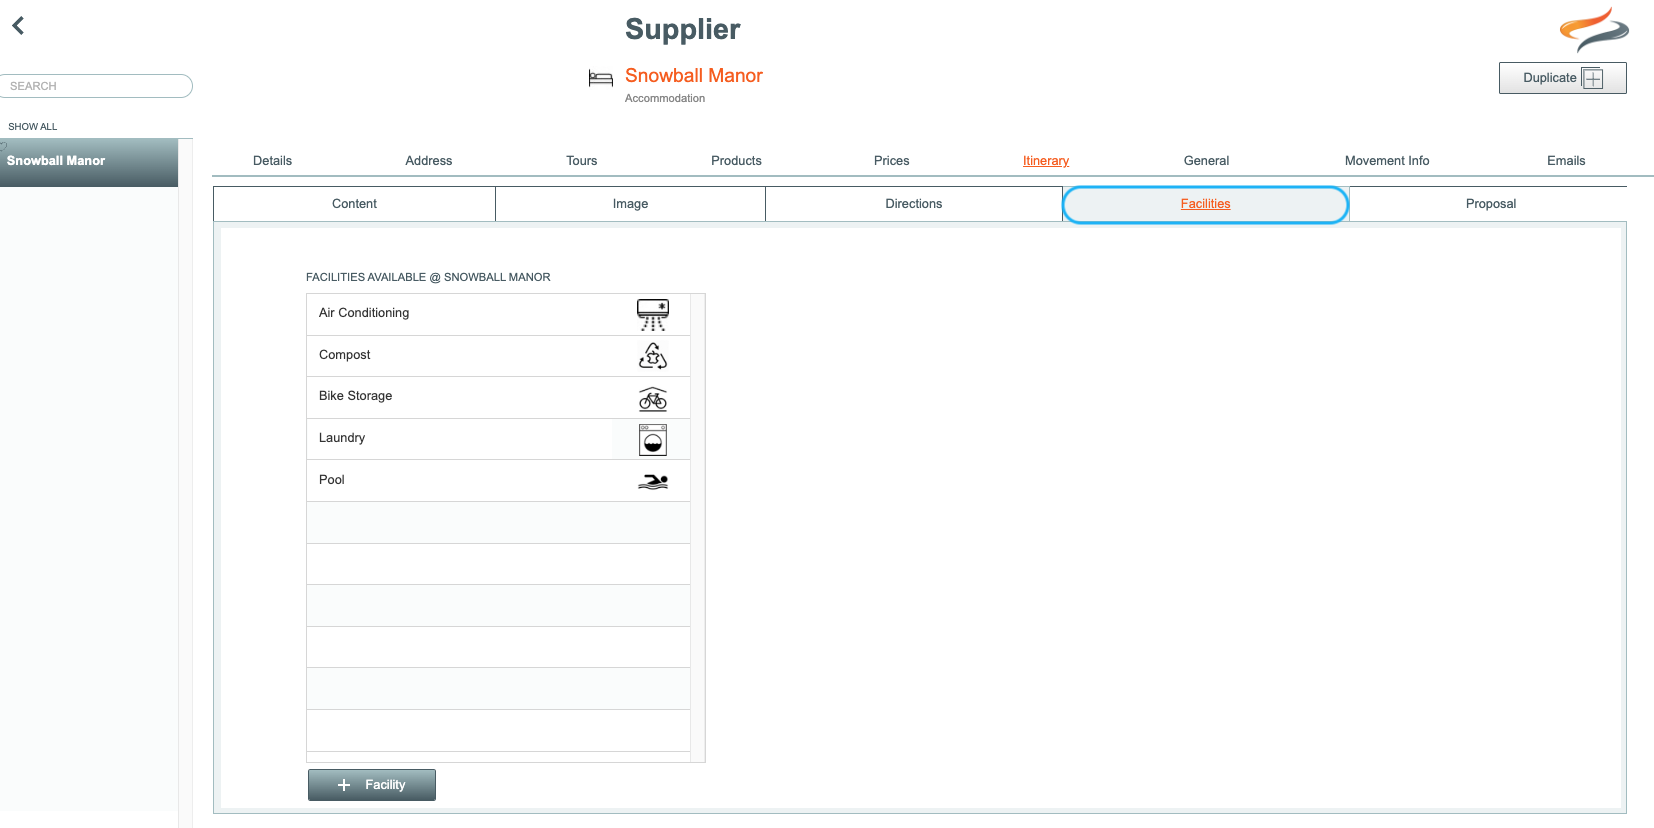
- Add facilities by clicking the + Facility button
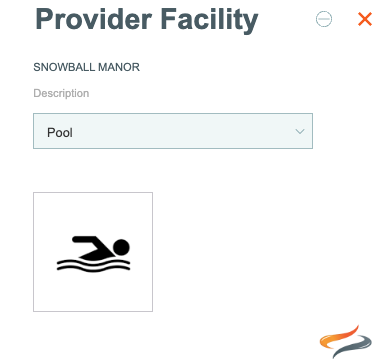
- Choose the Facility description from the drop down list. These facility labels are managed in your system settings Here
- Add an image if you choose to
- The Status of the facility can be changed from Active, Archived, or Deleted in the System Settings.
Proposal
The Provider | Itinerary | Proposal tab allows you to upload up to four different images (Horizontal, Vertical, Rectangle, Square) to allow you to use a range of enticing images in your online proposals.
Note that the image on the Rectangle tab is automatically populated by the image that you have selected on the Provider | Itinerary | Image tab
