
Booking - Shuttle
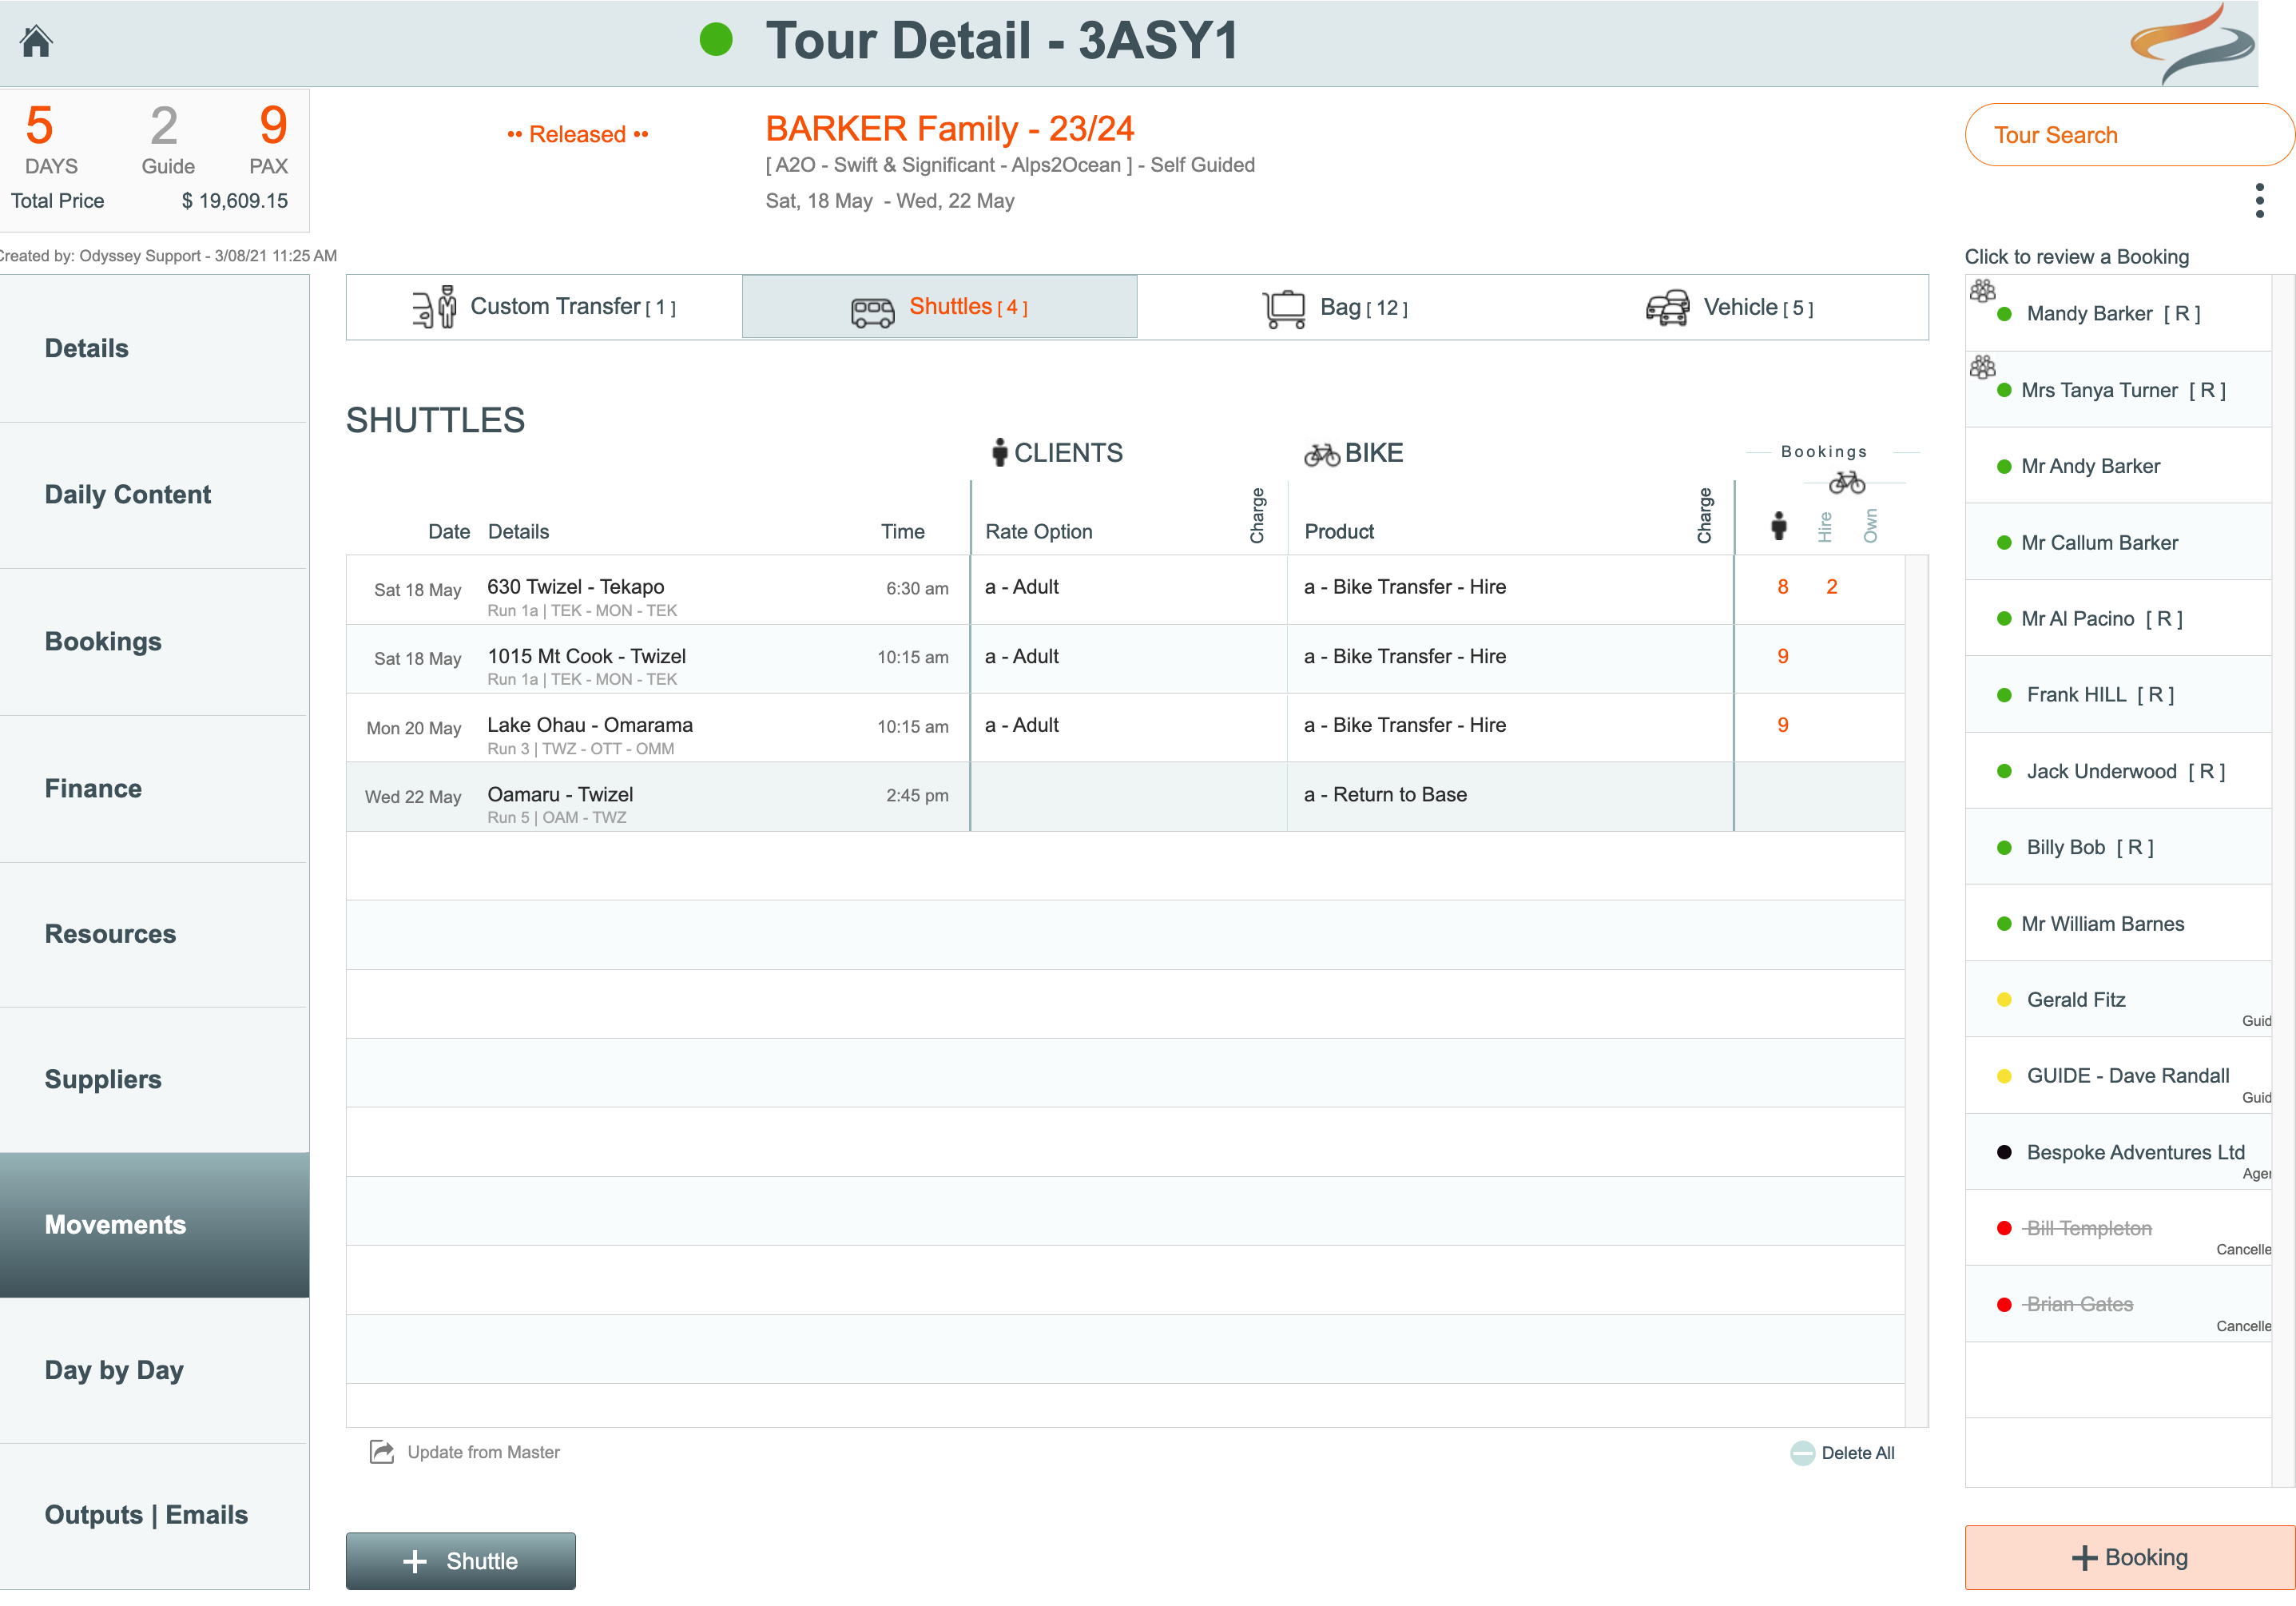
The Shuttle tab shows people movements - via a shuttle - from one location to another, the date and time of the shuttle movement, the name of the shuttle driver, the charge type, the number of clients from this Departure on this sector, the number of hire and / or own bikes, whether the transfer is to be charged, and a space for office notes. These shuttle movements form part of the itinerary.
To create booking level shuttle movements
- On the Tour | Movements | Shuttle tab, the shuttle records may have been populated from the Master, or added by clicking the + Shuttle button.
All the client booking related changes are made from the Bookings tab
To add a client booking to a Shuttle movement
- On the Tour | Movement | Shuttle | Bookings tab:
- click on the Add to all button to add all clients to this shuttle, or
- click the orange + to add individual bookings to this shuttle

To modify shuttle settings for a client booking
- Click once on any shuttle record to take you to the client bookings

- This takes you to the Bookings | Client Movements tab
- The charge tickbox can be ticked or unticked from the Bookings | Client Movements tab

- Click once on any client's booking record to make changes specific to their shuttle record
Details:

- Rate Option - If a client booking on this shuttle requires a different rate option, selecting a different rate from the drop down list
- Charge for this item - Tick the tickbox to charge for this item if the customer is to be charged for this shuttle movement. (a small x indicates it's not being charged to the client, a tick indicates it is. Click on the x or √ to change the setting. Hover text explains each setting)
- Agent Commission Calculation - If this shuttle movement cost should be included in agent commission calculations, click on the tickbox
- Click the override button if you wish to override the standard rate
Notes

- On the Notes tab, enter any Notes.
- Office Notes - enter any notes for the Office; these are strictly internal notes and do not appear anywhere
- Driver Notes - enter Notes for the driver, relating to this client's booking. These notes appear on the driver manifest
- Tip: If you have entered notes, a note icon will appear back on the Bookings | Client Movements tab, as an indicator to you.

Itinerary and App
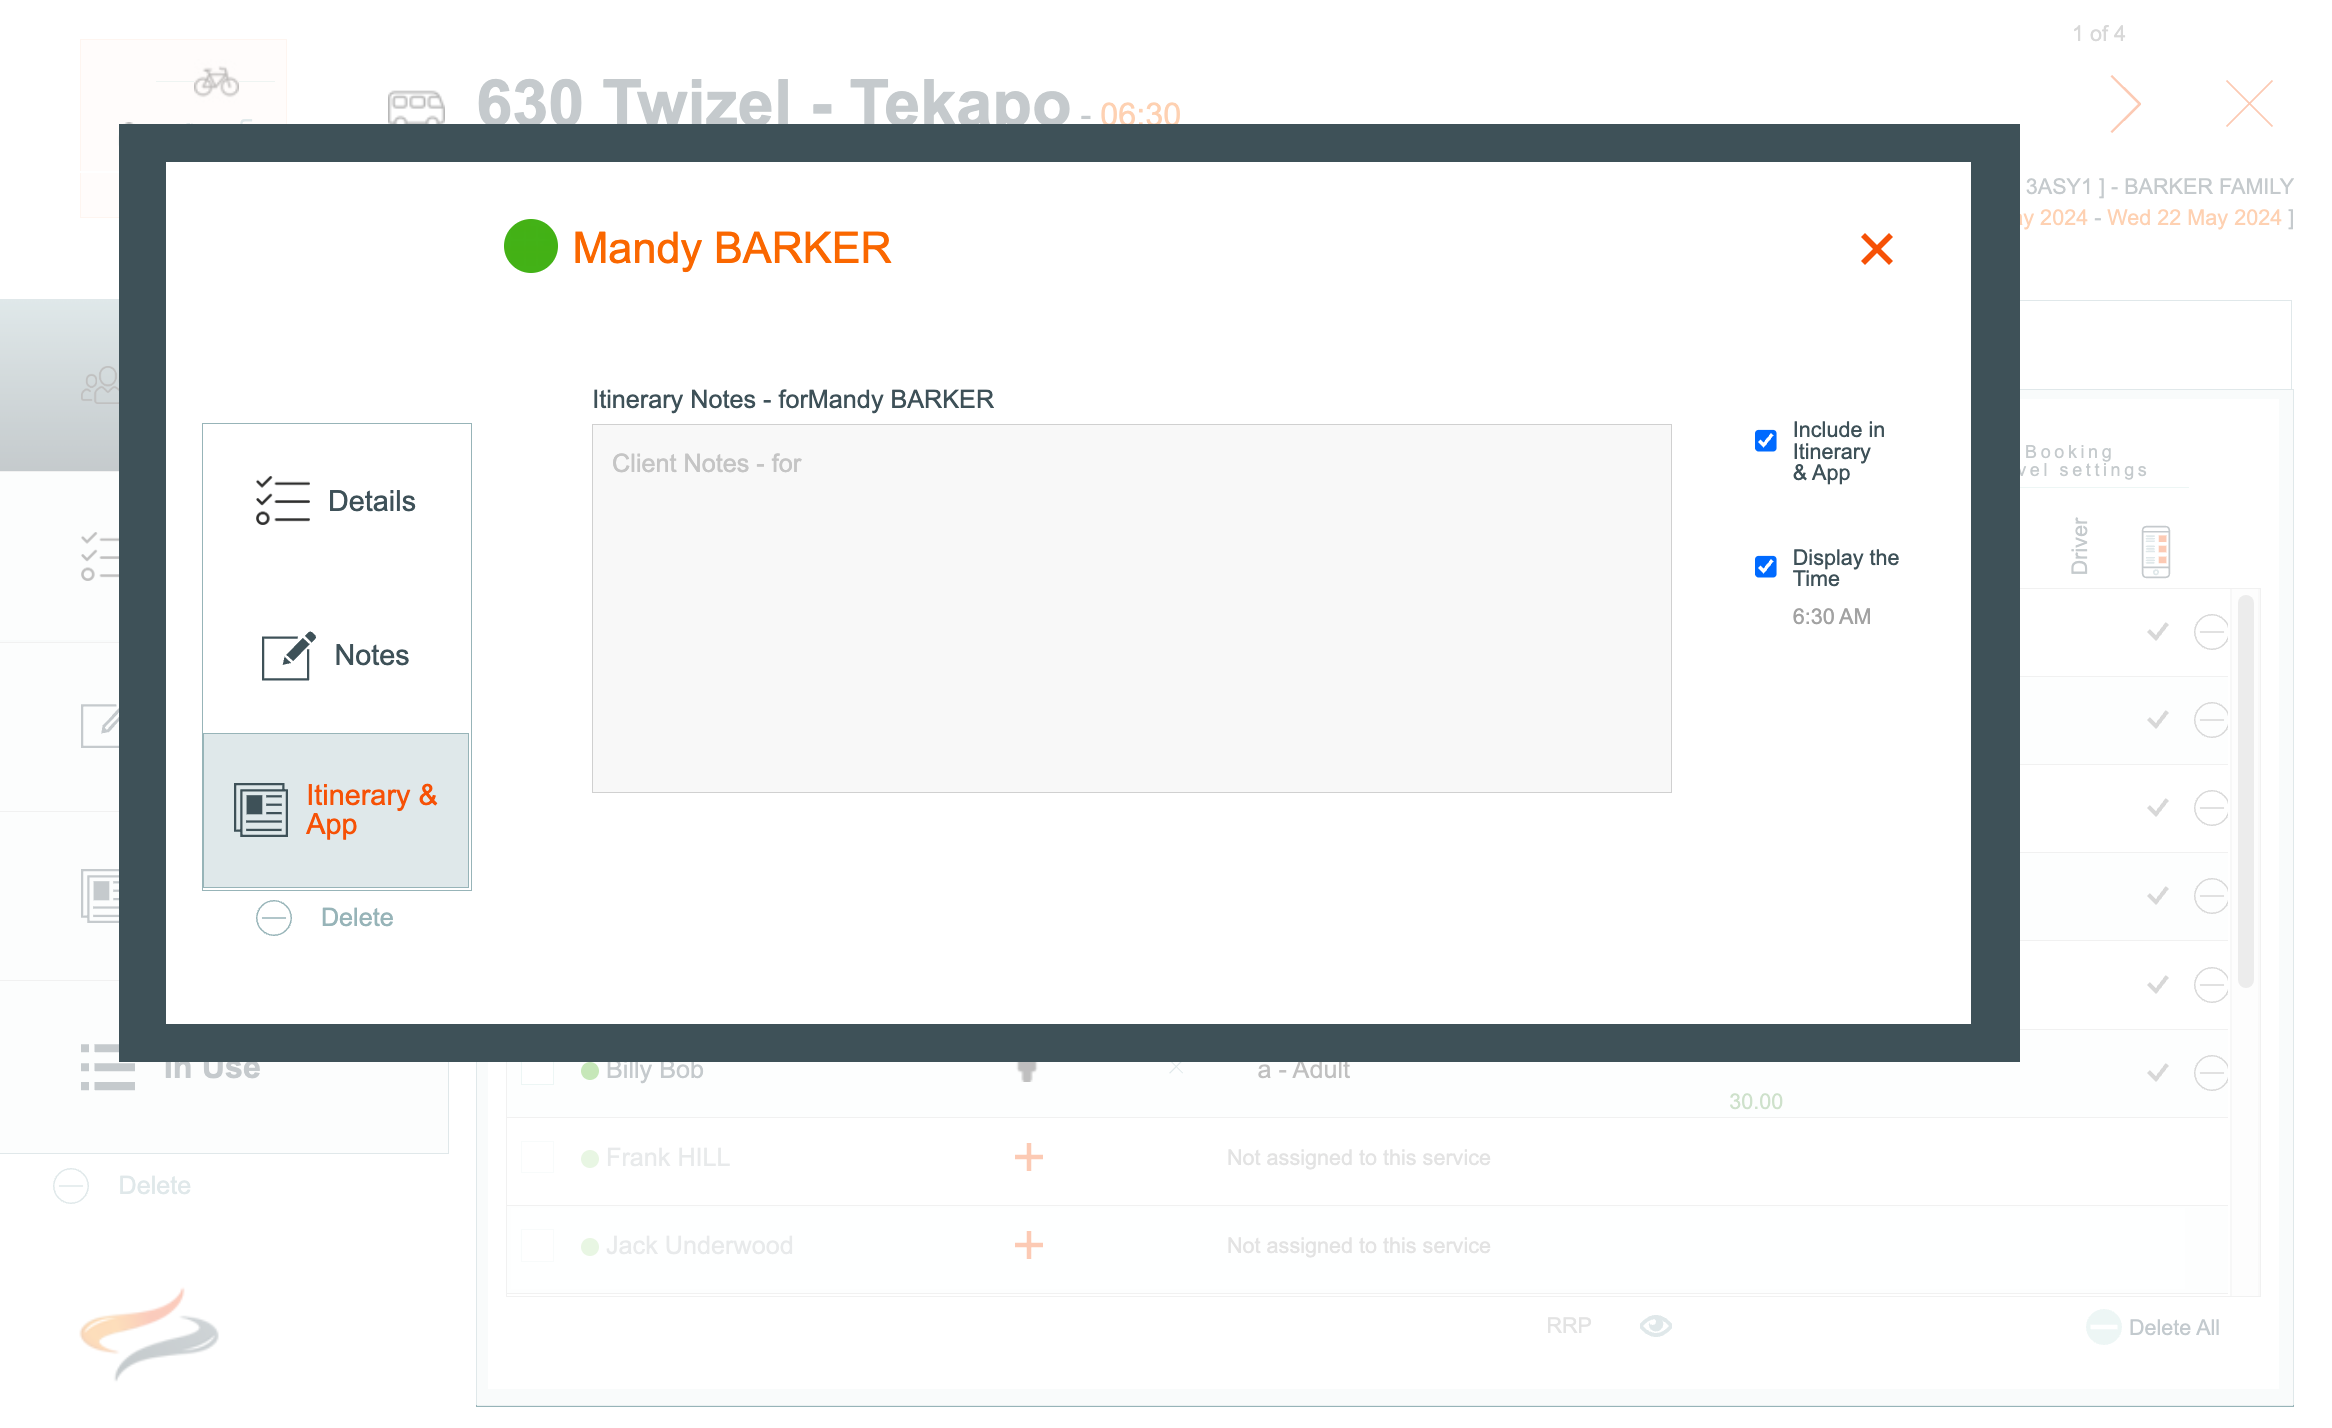
- Click on Itinerary & App, to enter notes which should be included for this client on the Itinerary and Ody Trips app.
- tick the tickbox if you do wish this note to be included in the Itinerary, or if you want to turn it off for some reason
- tick the tickbox if you wish the time of this movement to be displayed on the Itinerary and app
Deleting a shuttle movement for a client
- To delete the shuttle movement for one booking, click the grey Delete button on their record (under Itinerary and App)
- you will be asked if you are sure you really want to delete this record, click Delete
