Creating and Managing Client records
When a booking has been made for a client, these client records are stored in a "database" in Odyssey for future use.
This means it makes it faster to add the client onto another Departure/Trip, it's very useful from a searching and reporting point of view (e.g. how many clients in the age bracket 50-59 hired an ebike this season), and the contact details can be targeted for marketing campaigns.
Clients are the 5th level of the data structure in Odyssey.
- Learn more about the data structure in Odyssey, and how other Odyssey clients might label their L5's here


Creating a new Client
There are many ways to create a new client:
- From the Client List
Learn more here
2. From inside a Tour/Departure
- To add a client to a Tour, from the Tour Details tab, click + Booking

- Before you can continue, Odyssey will ask you to search for an existing client in your database.
- The advantages of doing this is that
- all the details you have stored for the client, such as their address, height, weight, passport details etc, are all pulled through to this new Tour, saving you data entry, and ensuring the data is accurate.
- each client only appears in your database only once, making your marketing and reporting metrics accurate
- The advantages of doing this is that

- If the client appears in your list, select their name.
- If they are not a previous client, then click the "Not a previous Client?" button, to add them now.

- This allows you to quickly enter key information for your client, in order to get them into your booking quickly.
- Enter the Client's Title from the drop down list, their First and Last name, and Click Continue

- The client has now been added to your tour, and to the client database
- Click on this record, to view the client's booking record
- Any extra data you enter on the client's booking record - such as contact details, medical, dietary, passport, nationality, health, etc, will automatically be added to the Client record in the database
The client's details can be modified and reviewed from the Main Menu | Client List
Details:

Enter their main/mobile phone number.
Notice that when you hover over the speech bubble beside the mobile number, the speech bubble turns red, and a window appears allowing you to automatically send a SMS message to that client. This is an advanced function, which not all Odyssey customers take advantage of.

Enter the client's Gender from the drop down list
Enter the Client's email address; and ensure it gets the tick that it's a valid email address

The age field is automatically calculated from the Date of Birth field on the Personal tab
Select the Client's occupation from the drop down list

Tick the Newsletter box if they are interested in receiving the newsletter
A client's Status can be changed from Active to Non Active. For example, a client could be made 'Inactive' if they have been set up in the system twice accidentally.
The Client Details screen should now look something like this:

Navigate across the other tabs, completing any other details that you have to hand.
Personal
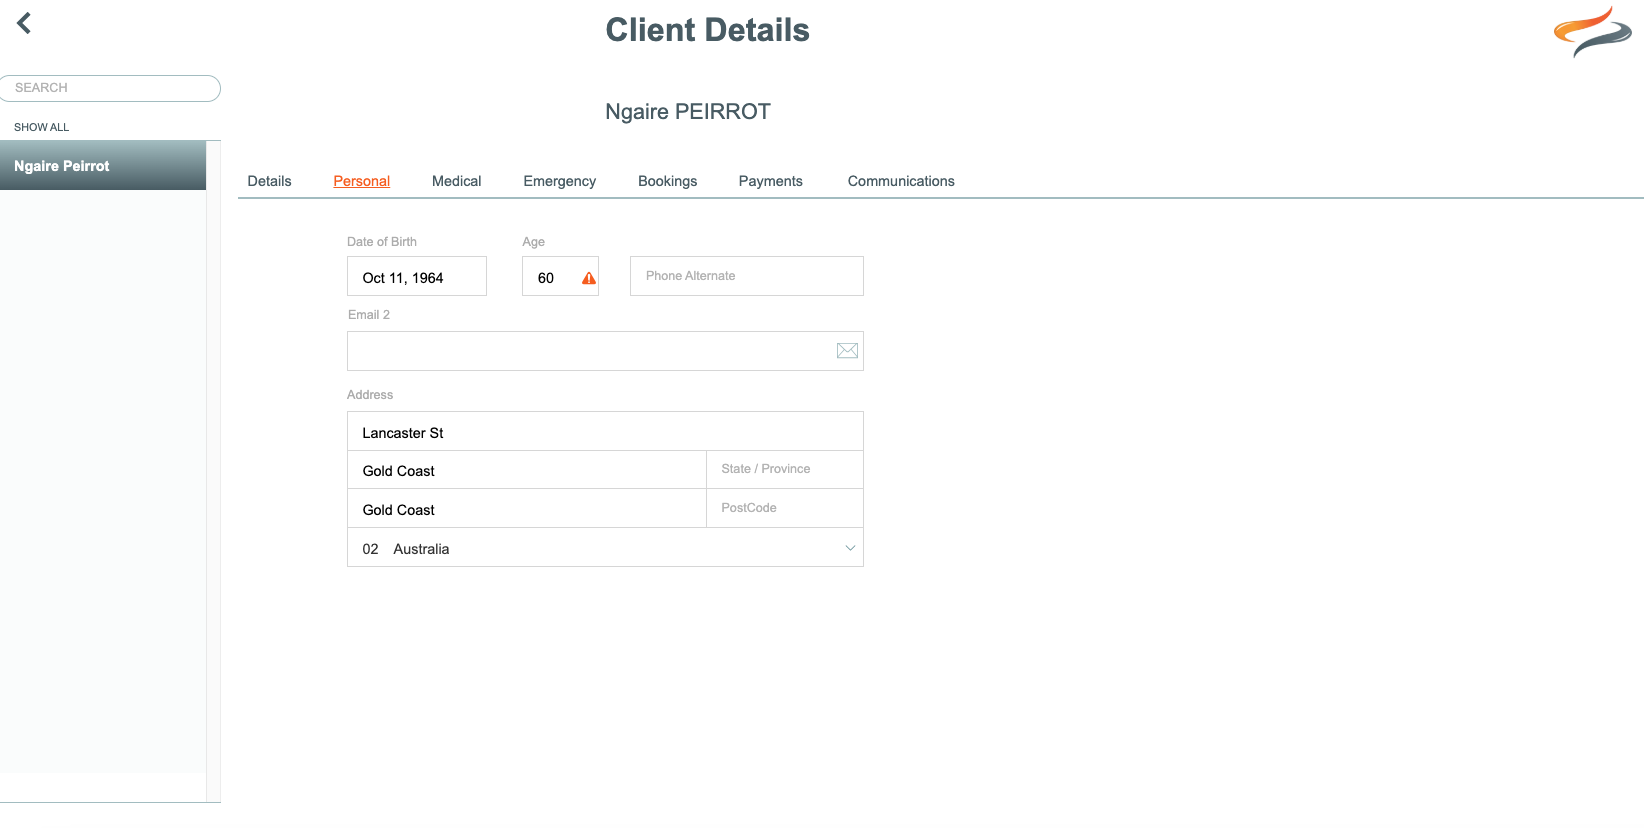
- Enter a Date of Birth, in the format dd/mm/yy. This date of birth field is then used to calculate the client's age, in the next field, and also on the Details screen.
- Add an alternate phone number, if available, and a secondary email address, if available
- Enter the client's physical address details
Medical
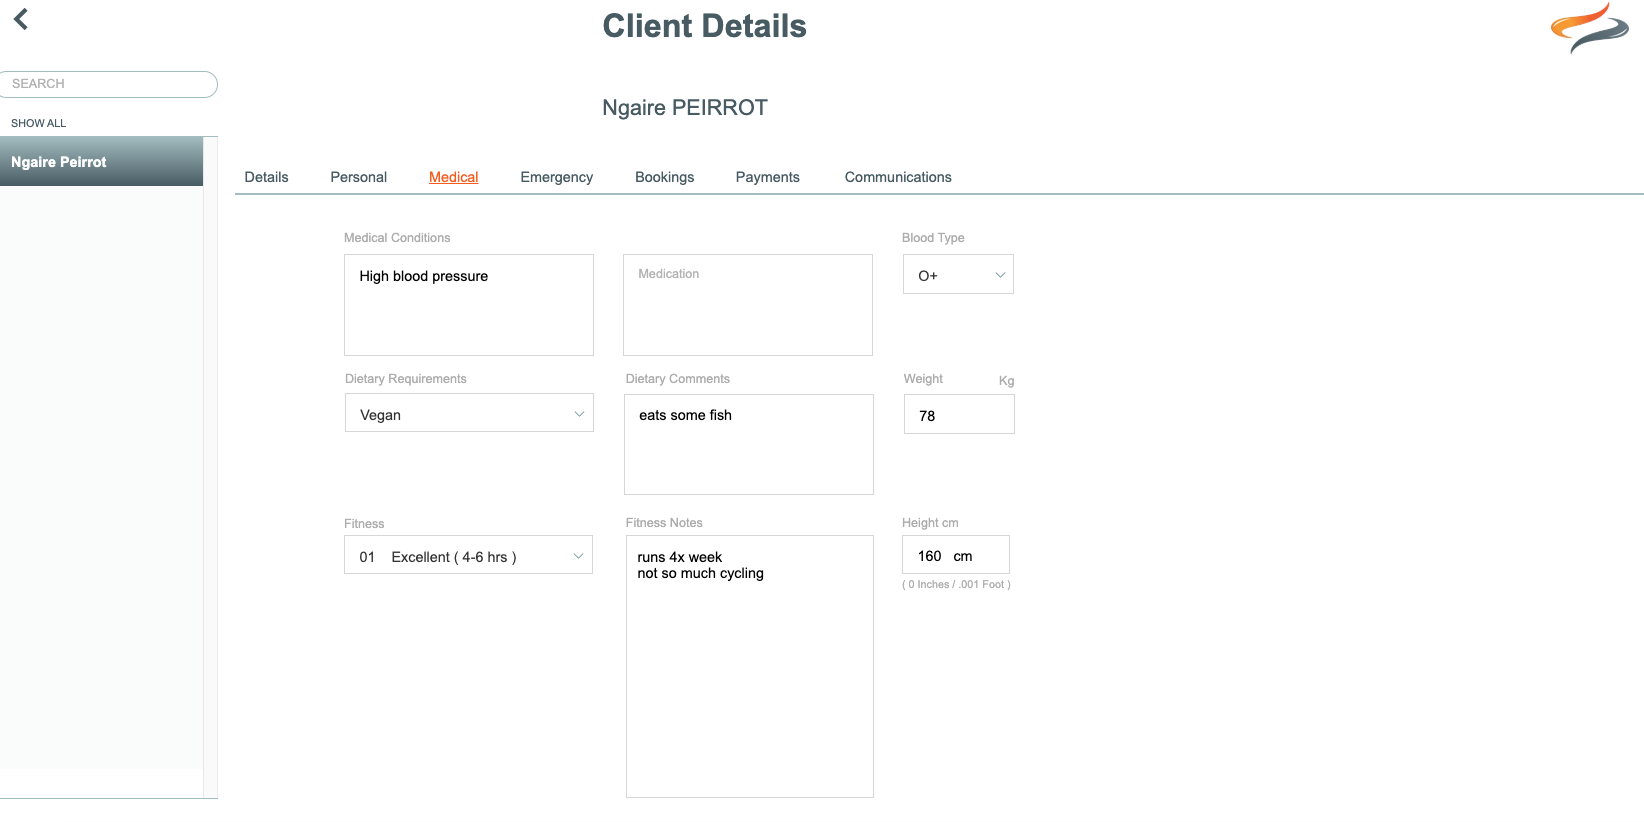
- Enter the Client's known Medical conditions in the text field
- Enter the Client's known Medications in the text field
- Enter the Client's known Dietary Requirements in the text field
- Select the Client's Fitness level from the Drop down list
- Select the Client's Weight from the Drop down list

- Select the Client's Height from the Drop down list

Note: All the drop down lists used in these screens can be managed from the Main Menu | Administration | Settings area. Learn more about settings here.
Emergency
Complete all the emergency details you have available, choosing a Relationship from the dropdown list

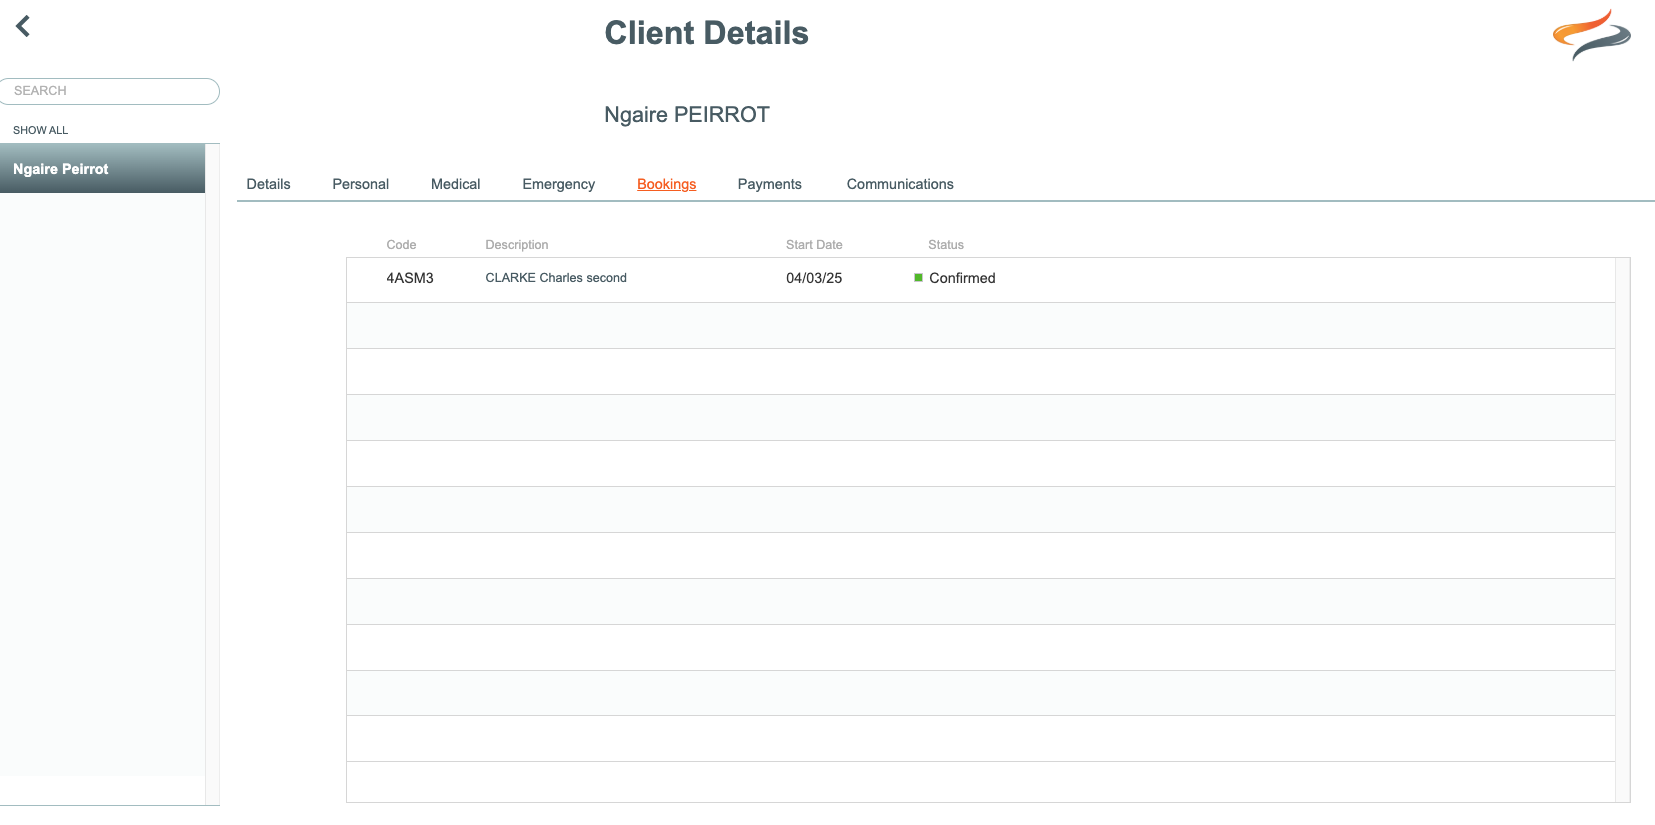
Bookings
If this client already has Bookings in their name, you can view a list of them, and their Status from the Client | Bookings tab. Click on a booking to go directly to the Booking.
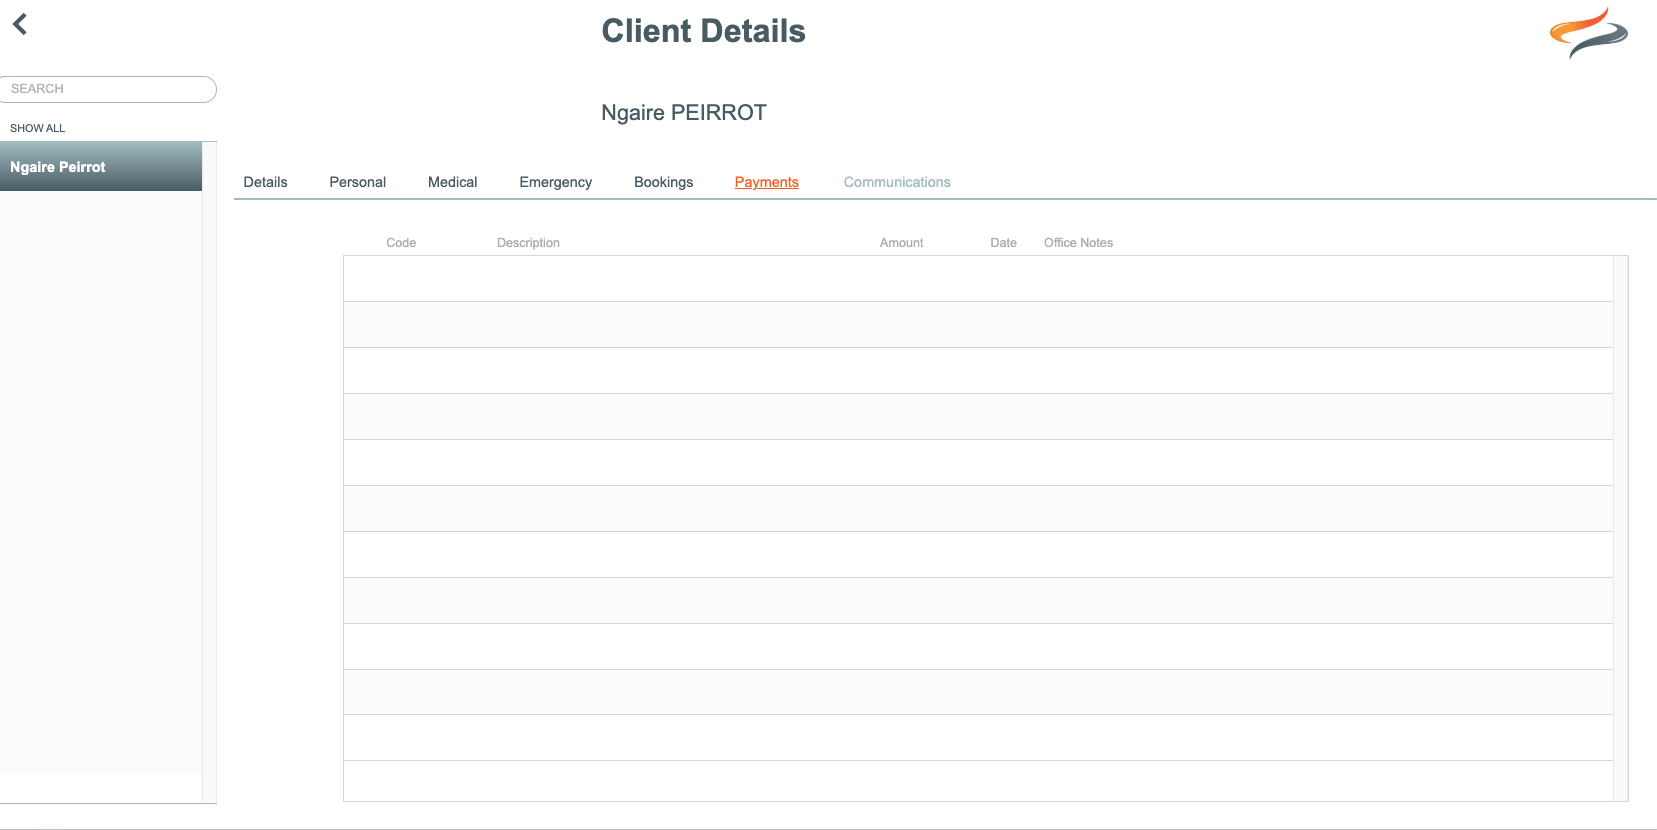
Payments
Any Payments made by the client will be visible in the Client’s Payments tab. Here we can see the relevant departure shortcode, the type of payment it is along with the amount, and date of the payment.
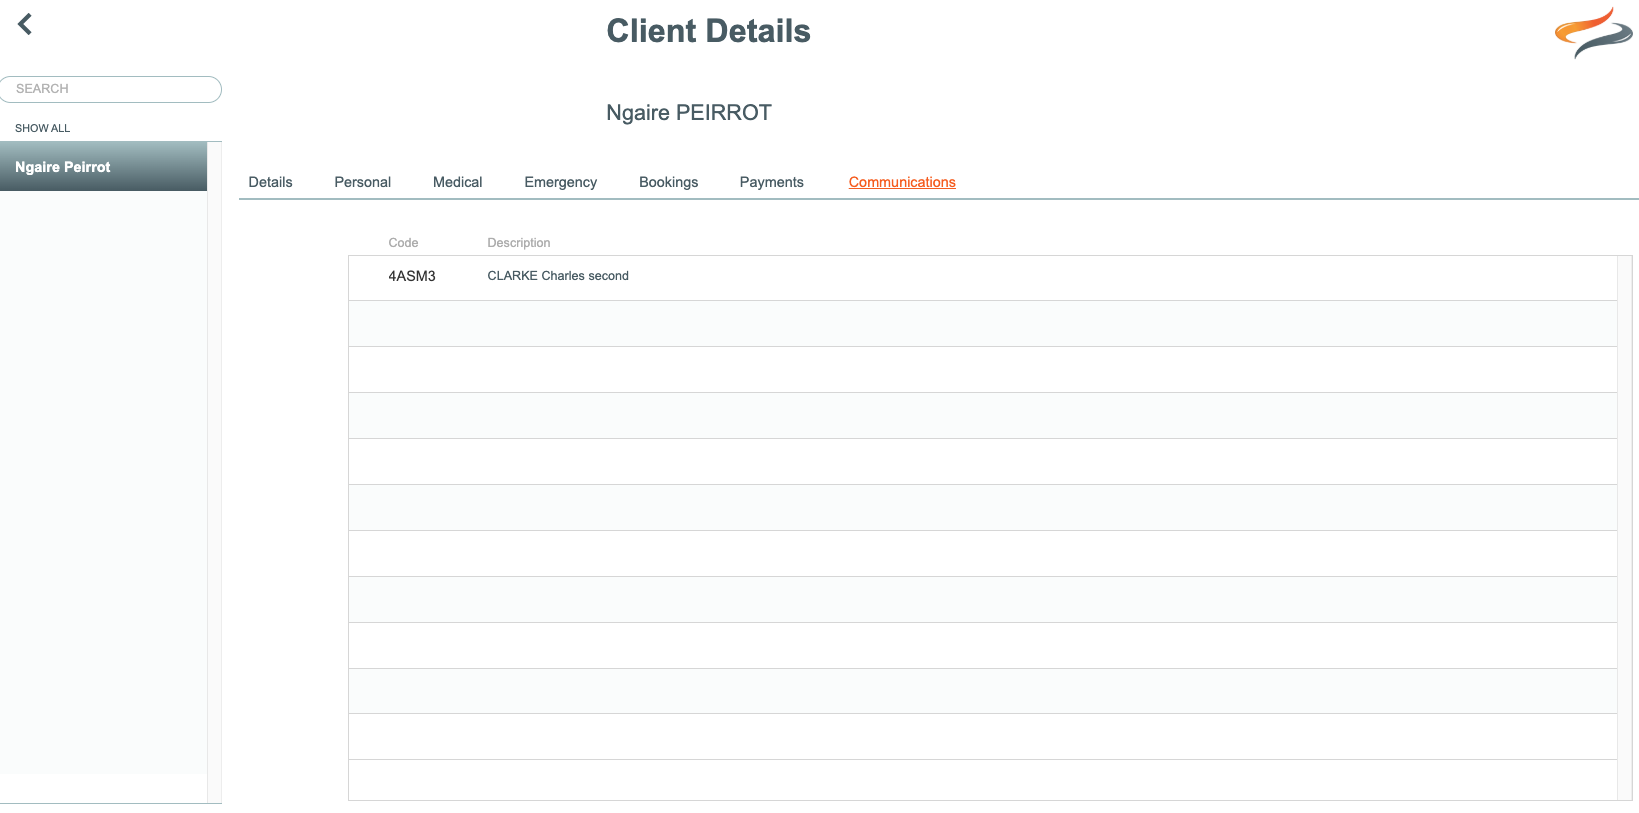
Communications